Many people had attempted to 3D print icing on cakes. How about doing it in a different way.
This project is a collaboration with Ines Ariza (the birthday girl). We took inspiration from traditional movable type printing and stencil spray printing used in various outdoor context. We designed a cake decoration machine that sprays edible food dye onto a cake.
Why not paste extrusion.
The goal is to put edible text on a cake. We looked at the paste extrusion method many people had attempted (such as + Lab and Claystruder) but we think that the resolution is rather low. We did some tests with biscuits and manually extruded icing but we didn’t like the result.

We also want to fit as much text as possible on a 25cm diameter cake, so everyone who comes to the party can write a message there. Paste extrusion also require a rather stiff and flat base platform for the paste to be extruded and stop sharp, which is not easy on a soft cake.
Stencil and spray paint
We tested a food colouring spray can from AmeriColor. It is food colouring dissolved in alcohol held in a aerosol can, propelled by compressed air. We thought a self contained spraying system would be the easiest and cheapest to implement. I have designed a 3D printed mount for a servo motor to trigger the spray can. An off-centered bearing rotated by the servo motor would press against a cam on top of the spray nozzle. That creates a short burst of spray.

Sadly, the burst of spray is not consistent. The ink can be sometimes too light to read and sometimes too wet that it drowns the stencil (creating a blob of weeping ink). I believe this is an inherent problem with spray cans (that is probably why spray can instructions always say spray from a far away distance and start the spray pointed away from the object).

We realize that we need to spray an extremely precise amount of ink onto the stencil for it to look good. This encouraged us to move to a airbrush system with a electric compressor. A dual-action air brush allows a separate control between air flow and ink flow, we found that the ink amount is much more controllable when we keep the air constantly flowing and trigger only the ink flow. This completely eliminated uncontrollable ink splashes from the spray cans. (the splashes were caused by ink collected at the nozzle after a spray, the next spray will propel a blob of ink towards the object)

Stencils
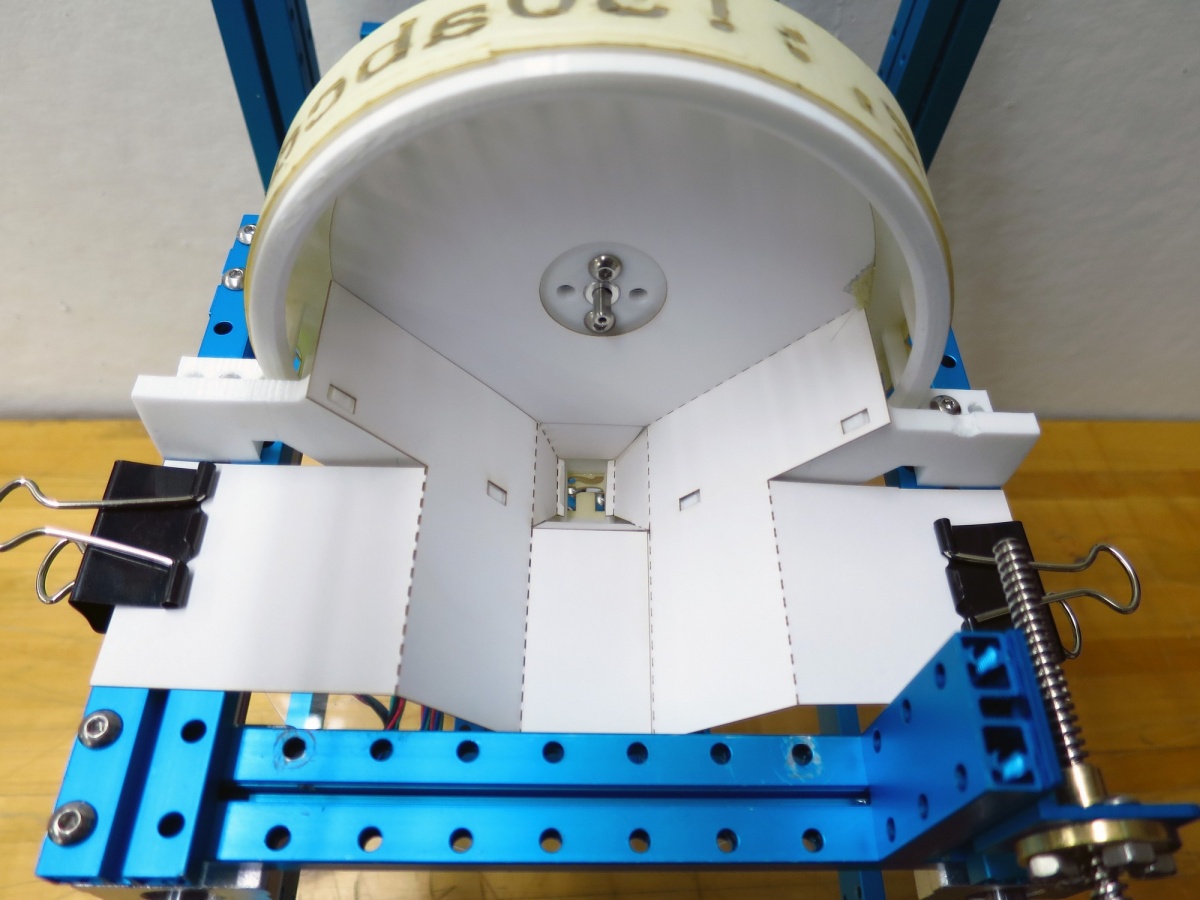
Ines designed the typeface on the rotary stencil. A strip of transparency film (I think it is used for projector), laser cut with 32 letters and symbols, is glued to a 3D printed wheel-shaped housing. Each letter is mono-spaced and fits within a 10.8mm x 15mm window. She also designed an easily-replaceable paper mask to shield the unaffected area from spraying mist. This paper mask is produced by a laser cutter and then folded into a 3D shape.


The machine
The machine is made from Makeblock robotic parts. Their modular beam system and easy to attach parts allow me to quickly make machine prototypes and correct mistakes early on. This machine has 4 axis and one digital output to control the ink. The kinematics starts from a bridge-like Z axis platform, two motors with leadscrew provide high lifting force for the other axis. X axis sits on the bridge and traverse the two side of the machine, it is also actuated by a leadscrew. The airbrush assembly and the stencil assembly both sits on the X stage.  The airbrush trigger is pulled back by a servo motor with some 3D printed mountings, this control the ink flow. The stencil wheel is mounted directly on a stepper motor (B axis). The cake sits separately on a turntable (A axis) , powered by a stepper motor and a reduction gear.
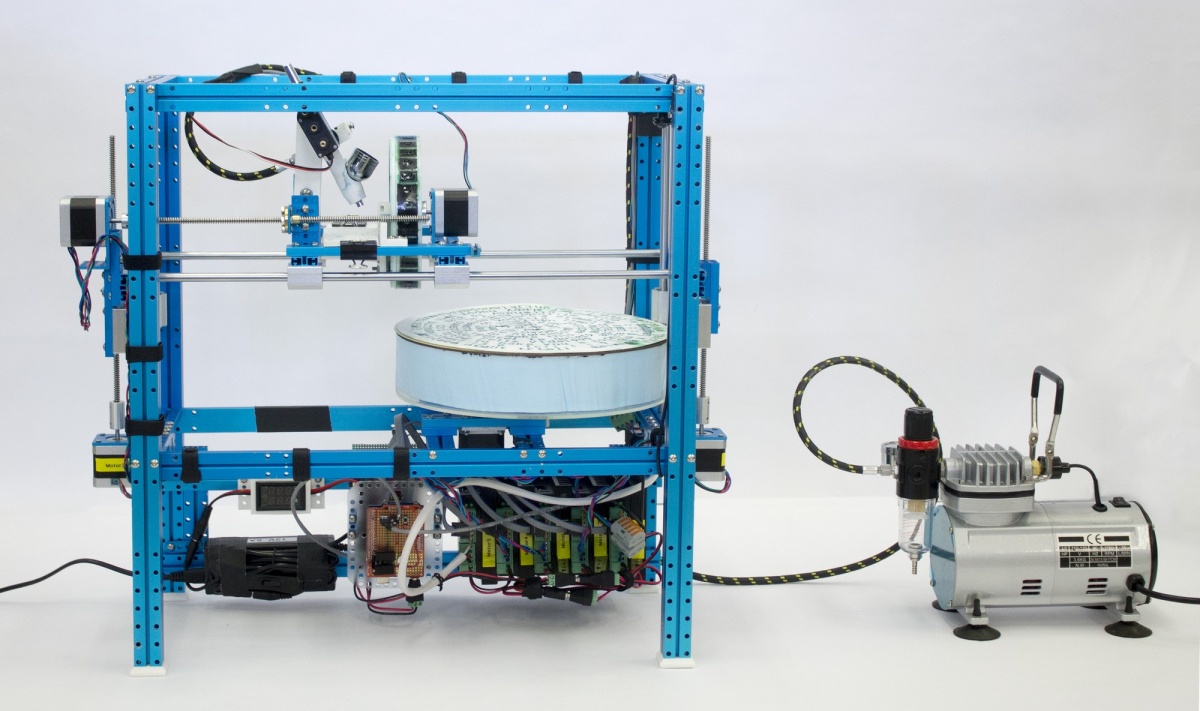
I used Arduino Due running Tinyg2 to control the 4 axis movements. Industrial stepper motor drivers are used. Everything runs on 12V.
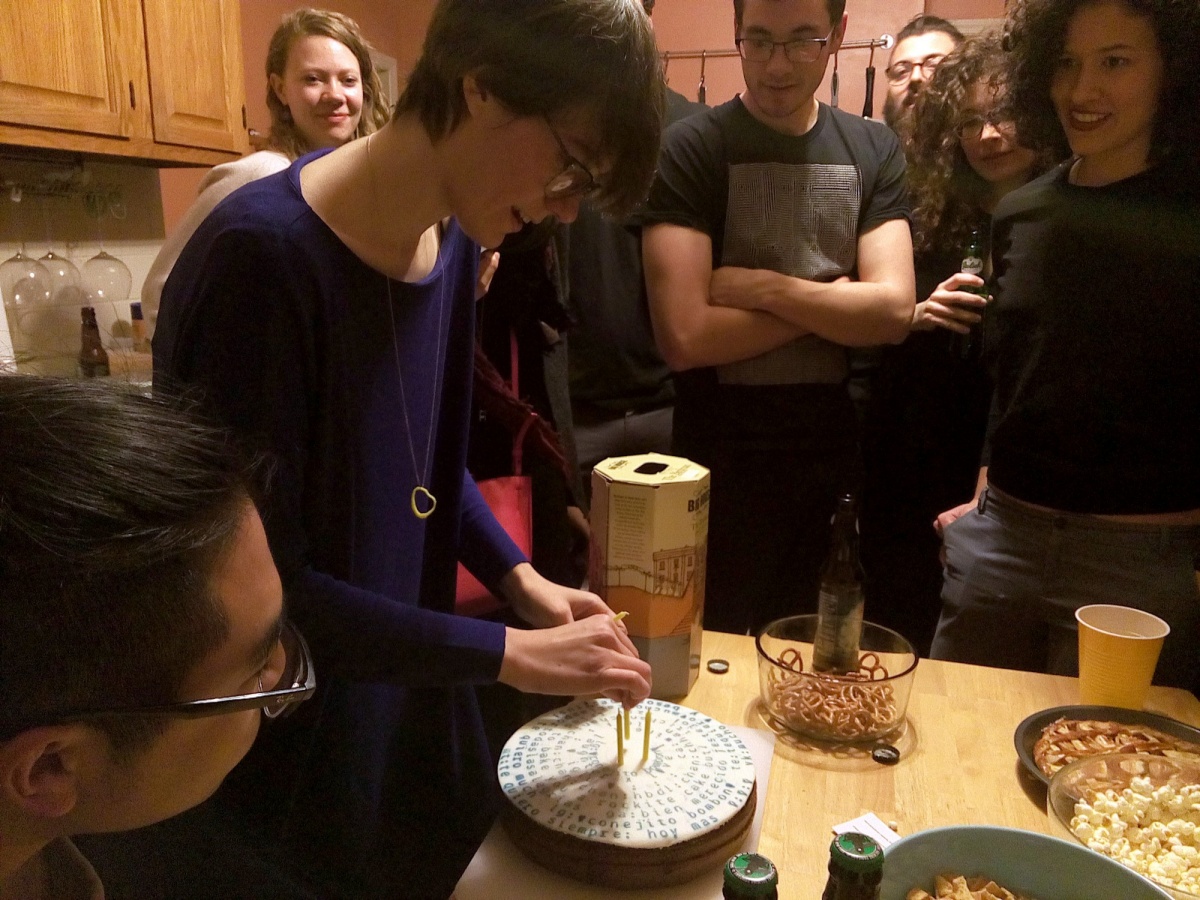
The Party
Kallirroi Retzepi designed a petty front-end for the machine: a webpage where party participants see from their phones and send birthday greetings. The messages are stored on a mySQL database online, fetched by a small software running on a laptop, re-coded into the 32 letter positions and ultimately transformed into G-Code for controlling the machine. The software manages flow control between the computer and Tinyg2 by listening to the status report from Tinyg2.


Ines prepared 3 cakes and we started the first cake with blue colour ink. Messages waiting to be printed spool inside the software. We tuned the machine speed such that it takes ~90 minutes to print a full cake. The machine continues its performance throughout the party. Chaewon Ahn gave us the suggestion of printing with rainbow colour by changing the colouring in the airbrush cup, we did that with the second cake and it looked amazing.